Getting Started: Tools and Tips!
Getting started with birding is easy because birds are all around us. You probably already know some common types of birds, like the Canada Geese that take over our parks in the summer with their young, or the Black-capped Chickadees that comfortably snatch seeds from an outstretched hand. Yet, there are many species that we need to take a closer look at to identify. Is that woodpecker a Hairy or Downy? Or perhaps it’s a Northern Flicker?!
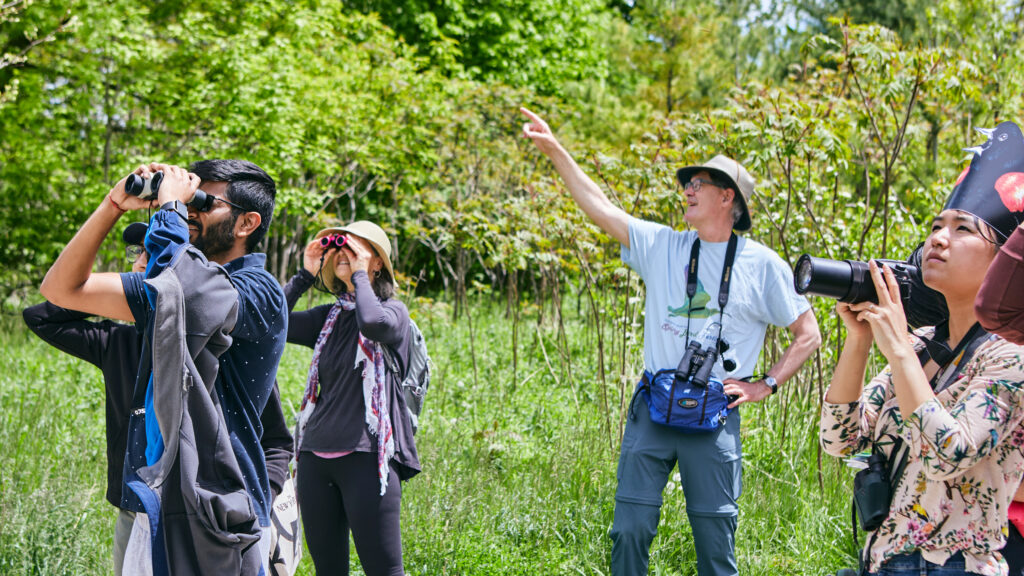
In this first lesson, you’ll learn about using binoculars and field guides, and other useful tips to help get you started.
Getting Your Hands on Binoculars
While binoculars aren’t necessary for birding, they are very helpful! Fortunately, you can get a good pair of entry-level binoculars for $150-300.
When choosing binoculars, you’ll notice that the magnification and lens diameters can vary between pairs. Many birders like binocular models that are in the range of 7×30, 8×40, or 10×50. The first number represents the magnification. A magnification of 8 means the image you are seeing though the binoculars is 8 times larger than it would be to the naked eye. Higher magnifications have a smaller field of view and are harder to steady. If you have a shaky hand, you might prefer a magnification of 7 or 8, instead of 10.
The second number is the lens diameter in millimeters. The bigger this number is, the more light your binoculars will capture and the better things will look. However, the bigger the lens, the heavier the binoculars. A lens bigger than 40 mm might be too big and heavy to take on a long walk, while a lens smaller than 30 mm will sacrifice many details on the bird you are viewing. For many people 8×40 is the perfect size for watching birds.
Top 3 binocular tips!
- Get a size that you are comfortable carrying and holding. A binocular shoulder harness strap may make wearing them more comfortable.
- Consider getting a pair that is waterproof. These will be more durable in rainy or foggy conditions.
- Binoculars that are well cared for will last many years! If you must clean the lenses, be sure to blow or brush away any grit or sand, and use a microfiber cloth, like you would if you were cleaning eyeglasses. Store them in the carrying case with the lens caps on.
Field Guides and Friends!
Field guides come in many shapes and sizes…and even apps! Try heading to your local library to explore their selection of bird guides. We often recommend guides with drawings, as the artist will have posed the bird in such a way that highlights key identification features. It is also a good idea to consider the size of the book. Just like binoculars, if a book is too big and heavy, you’ll probably leave it on the shelf. Finally make sure you get a book that is suitable for your region! Once you have a book in hand, read the intro. Most guides will offer pointers for how to use it.
Another option is using a bird identification app, such as Merlin Bird ID. Merlin is a free app that can help you learn about birds that might be in your area and even identify bird sounds and ID your bird photos. eBird is another useful app which many birders use to track their sightings.
Finally, one of our favorite learning resources is other birders! Experienced birders may have useful tips and tricks for identifying birds in your region.
Find other birders by searching for nature clubs, birding groups or bird observatories near you. Often these groups will lead in-person walks and other events for free or low cost. You might also discover these groups on Facebook, Meetup, or other social apps. Many big and small cities will also hold bird celebrations and festivals.
Finally, the number one way to find other birders….is to go birding! You’ll see others out on the trail with binoculars and guides. Always be safe. Consider taking a friend if you’re unfamiliar with the group or location you are headed to.
Later in this course you’ll learn how to find popular spots to go birding near you.
DID YOU KNOW?
Several libraries across Canada lend out birding kits! You might be able to borrow a backpack, binoculars and a guide book. This is a great way to explore birding tools before you invest in them.


