Regardless of which project you are participating in or which protocol you are using, your survey begins with selecting a location. How you do this varies by protocol, as some use prescribed stations or routes, while others allow you to survey wherever you choose. There are three main ways locations are selected in the NatureCounts app: free selection from the map, a predetermined station, or a stop-within-route survey.
Whatever the case, you can find the location selection on the Create tab in the app, and it must be completed before you can continue with your survey.
Free Selection From the Map
Most checklist surveys and some other protocols allow you to select your location freely from a map. Typically the app will automatically select your current location. When this happens, you will see GPS coordinates on the Create tab. You can check your location by tapping “Edit Location”. A green marker on the map indicates the location the app has selected.
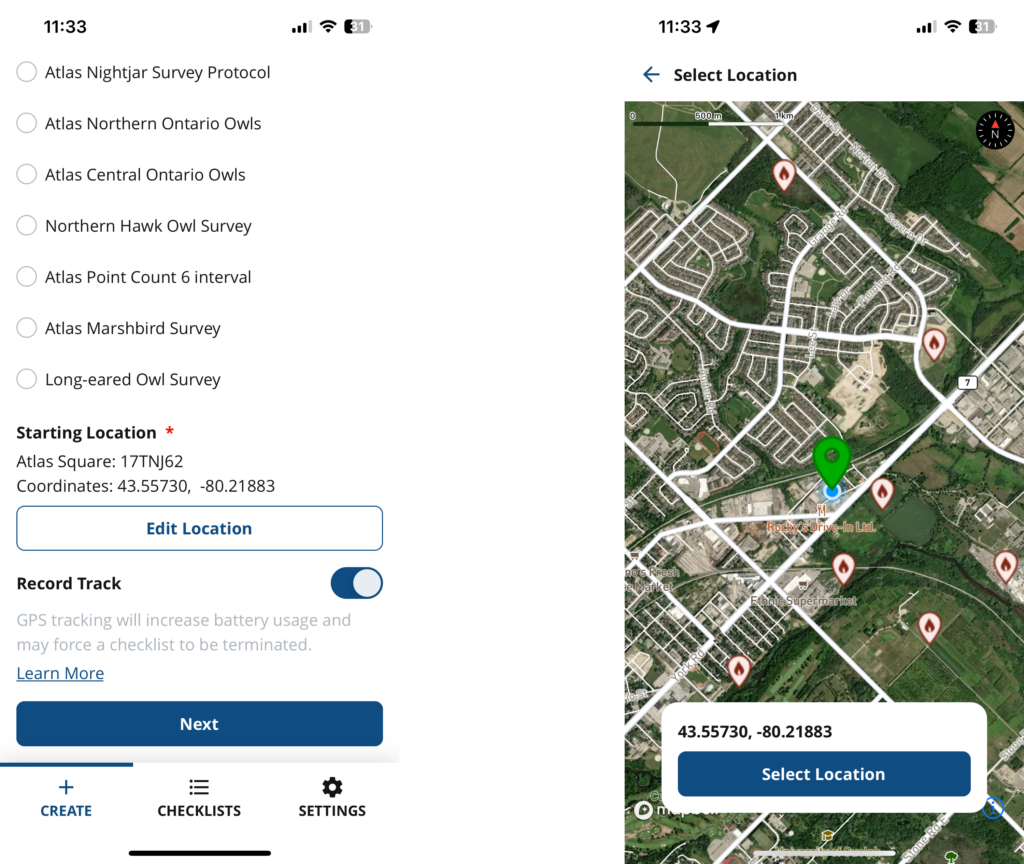
For some projects, like breeding bird atlases, the map may also display eBird hotspots as pink markers with a fire emblem. To select a hotspot as your location, simply tap the marker.
If you need to choose a different location than the one the app has automatically selected, simply tap the desired location on the map. The green marker will relocate to where you have tapped. Confirm your choice by tapping “Select Location”.
Predetermined Stations
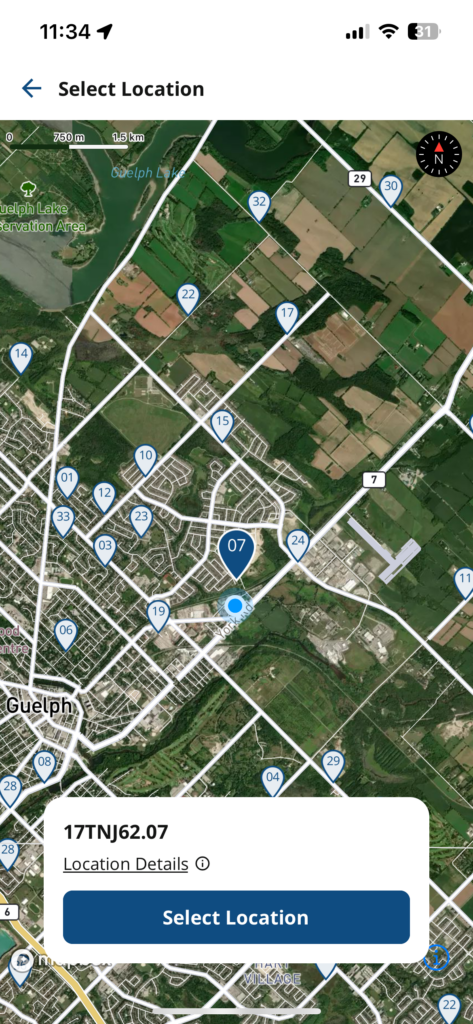
Many protocols that use point counts, and some others, require you to select from a set of predetermined stations. When you open the map by tapping “Edit Location” on the Create tab, you will see gray markers indicating the available stations. In some projects, the markers may be numbered. Tap the appropriate marker to select it. In some cases, information about the station is available by tapping “Location Details”. When you are satisfied with the selected station, confirm by tapping “Select Station”.
Stop-Within-Route Surveys
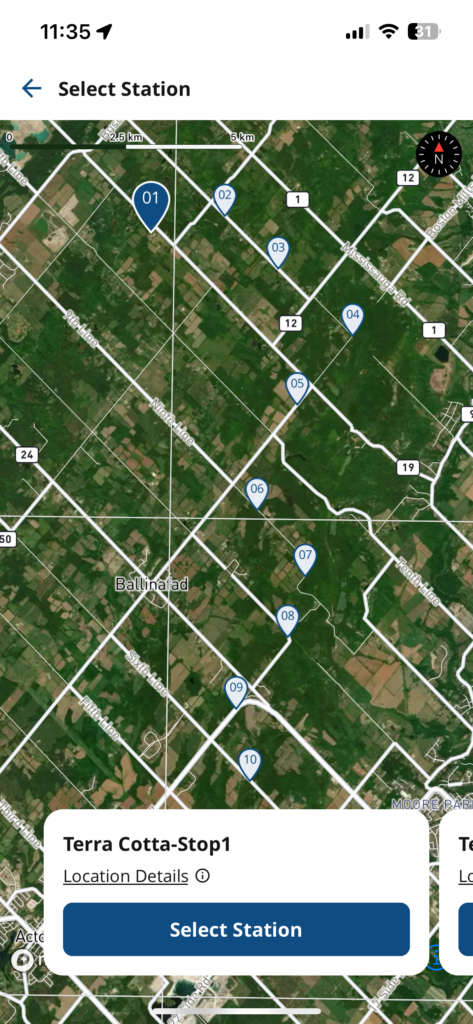
Some surveys use prescribed routes made up of a series of predetermined stations, or stops. These routes are indicated on the map with numbered gray markers. You can select your first stop by tapping it. The stop name typically indicates the route in which it is located, along with the number of that stop within the route. In some cases, information about the stop is available by tapping “Location Details”. When you are satisfied with the selected stop, confirm by tapping “Select Station”.
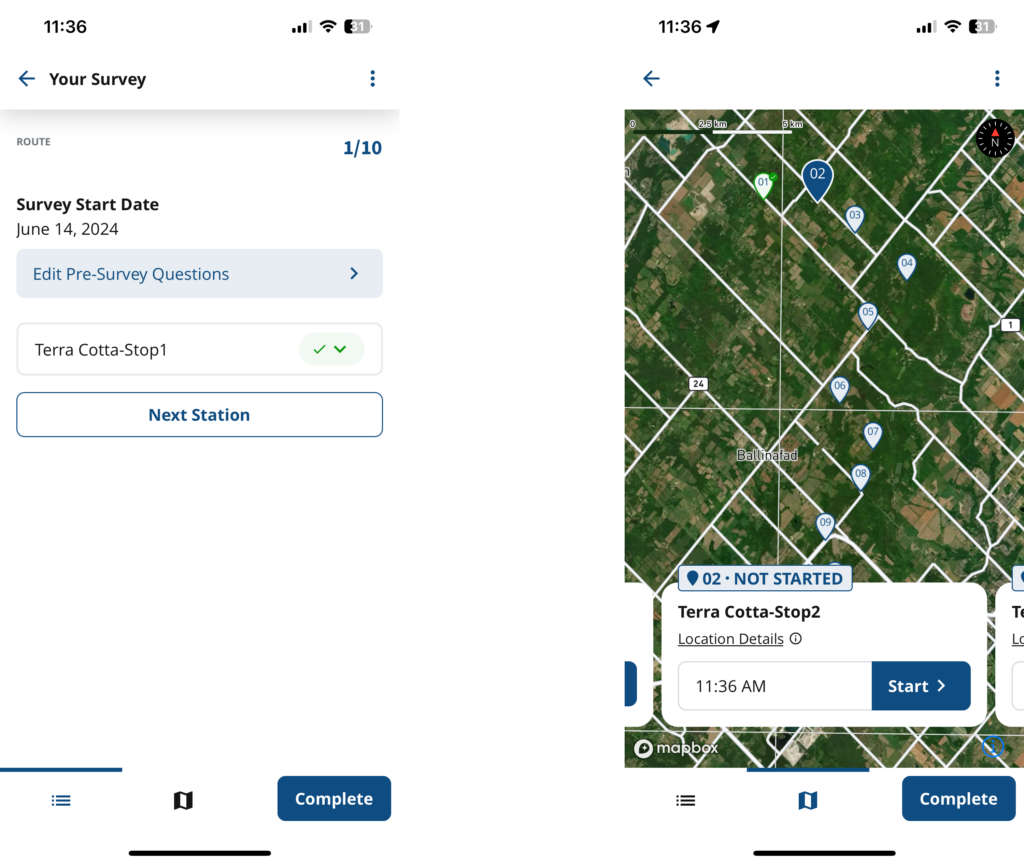
When you have completed your first station, you will see an option to select “Next Station”. Tapping this will show your route on the map, where completed stations will be outlined in green with a check mark. Tap your next station, and tap “Start” to begin.
Next section: Checklist Surveys